关于项目中配置Swagger,可以参考点击,本文主要针对Knife4j【官网】进行描述

核对下自己使用的SpringBoot的版本,2.**和3*分别相对应

项目结构
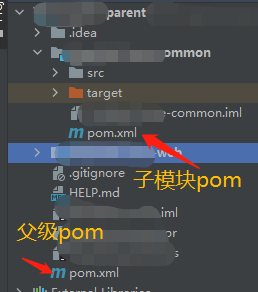
1 父模块的pom中
         <properties>
             <!-- knife4j 版本-->
            <knife4j.version>2.0.7</knife4j.version>
         </properties>
          <dependency>
                <groupId>com.github.xiaoymin</groupId>
                <artifactId>knife4j-spring-boot-starter</artifactId>
                <!--在引用时请在maven中央仓库搜索2.X最新版本号-->
                <version>${knife4j.version}</version>
            </dependency>
2 子模块pom
<!--knife4j 增强 Swagger UI-->
        <dependency>
            <groupId>com.github.xiaoymin</groupId>
            <artifactId>knife4j-spring-boot-starter</artifactId>
        </dependency>
然后在maven中 reload project ,加载新包
测试
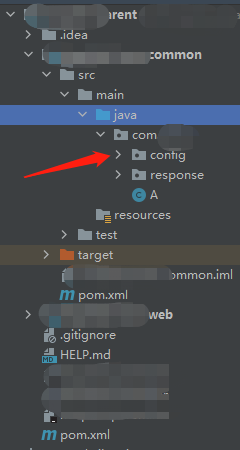
1 在common 项目中配置config 包,创建SwaggerConfiguration 类
2 复制 点击

代码部分内容可以自定义改
@Configuration//Spring扫描
@EnableSwagger2//swagger注解
public class SwaggerConfiguration {

 @Bean
 public Docket createRestApi() {
     return new Docket(DocumentationType.SWAGGER_2)
     .apiInfo(apiInfo())
     .select()
     .apis(RequestHandlerSelectors.basePackage("com.bycdao.cloud"))
     .paths(PathSelectors.any())
     .build();
 }

 private ApiInfo apiInfo() {
     return new ApiInfoBuilder()
     .title("swagger-bootstrap-ui RESTful APIs")
     .description("swagger-bootstrap-ui")
     .termsOfServiceUrl("http://localhost:8999/")
     .contact("developer@mail.com")
     .version("1.0")
     .build();
 }
}
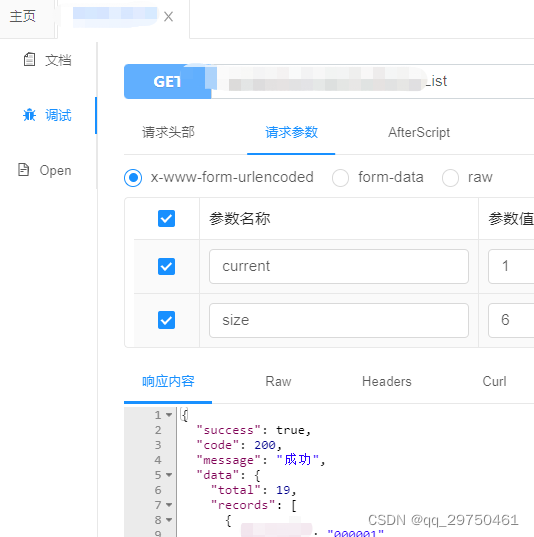
3 测试
swagger-bootstrap-ui默认访问地址是:http:// h o s t : {host}: host:{port}/doc.html
http://localhost:8080/doc.html


![[c/c++] programming之路(6)、ASCII码,数据类型、随机数、字符转换及拼接等](https://images2015.cnblogs.com/blog/1199089/201707/1199089-20170720120203224-1523264746.jpg)